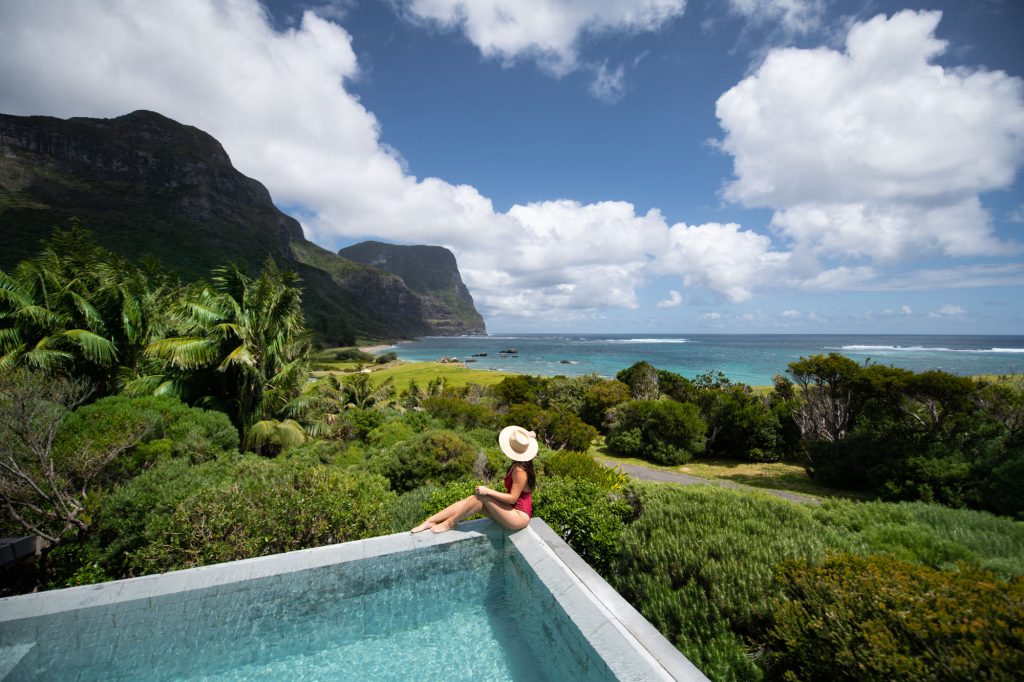
Fashion photography is a dynamic and creative field that requires a keen eye for detail and a deep understanding of visual storytelling. Adobe Photoshop is a powerful tool that can elevate your fashion images to new heights, allowing you to create stunning and captivating visuals that resonate with audiences. In this comprehensive guide, we will explore the various techniques and strategies to operate Photoshop effectively in fashion model photography, from initial setup to final touches.
1. Understanding Your Tools
Before diving into the editing process, it’s crucial to familiarize yourself with Photoshop’s interface and tools. The following are essential for fashion photography:
- Layers Panel: Allows for non-destructive editing, meaning you can make changes without altering the original image.
- Tools Panel: Houses tools like the Clone Stamp, Healing Brush, and Selection tools.
- Adjustment Panels: Contains options for color correction, lighting adjustments, and more.
- Brush Panel: Customizable brushes for retouching and creative effects.
- Histogram Panel: Helps in understanding the exposure and contrast of your image.

2. Initial Setup
When you first open an image in Photoshop, it’s important to set up your workspace for efficiency:
- Calibrate Your Monitor: Ensure that your monitor is calibrated for accurate color representation.
- Soft Proofing: Use the Soft Proofing feature to simulate how your image will look when printed.
- Zoom and Pan: Zoom in to 100% to inspect details and use the Hand Tool to navigate the image.
3. RAW Processing
If you’re working with RAW files, Adobe Camera Raw (ACR) is an integral part of the process:
- Exposure and Contrast: Adjust the exposure to correct any under or overexposure, and use the contrast slider to enhance the overall dynamic range.
- White Balance: Set the white balance to ensure accurate colors. Use the White Balance Tool by clicking on a neutral gray or white area in the image.
- Clarity and Vibrance: Boost clarity for added depth and vibrance for more lively colors.
4. Retouching the Model
Retouching is a delicate process that requires a light touch to maintain the model’s natural beauty:
- Healing Brush and Spot Healing Brush: Use these tools to remove blemishes, spots, and other imperfections.
- Dodge and Burn: Use these tools to subtly highlight and shadow the model’s features, enhancing their natural contours.
- Frequency Separation: This advanced technique involves separating the texture and color information of the skin for more controlled retouching.

5. Adjusting Colors
Color is a critical aspect of fashion photography:
- Color Balance: Adjust the overall color tone to create the desired mood.
- Hue/Saturation: Boost the saturation for vibrant colors or reduce it for a more muted look.
- Vibrance: A more subtle version of saturation that protects skin tones.
- Curves and Levels: Fine-tune the color channels to correct color casts and improve contrast.
6. Enhancing Lighting
Lighting can make or break a fashion image:
- Shadows/Highlights: Recover details in the shadows and highlights without affecting the midtones.
- Brightness/Contrast: Adjust the overall lighting of the image.
- Gradient Map: Use this adjustment layer to create a dramatic effect by mapping the tonal range of your image to a gradient of colors.
7. Sharpening
Sharpening is the final step before exporting your image:
- Smart Sharpen: This tool allows you to sharpen the image while minimizing the introduction of noise and halo effects.
- Unsharp Mask: A traditional method of sharpening that can be effective when used with care.
8. Creative Techniques
Photoshop offers endless creative possibilities:
- Blend Modes: Experiment with different blend modes on adjustment layers to create unique effects.
- Layer Masks: Use layer masks to non-destructively apply adjustments to specific areas of the image.
- Filter Gallery: Explore various filters to add artistic effects to your fashion images.
9. Background Work
The background can significantly impact the overall composition:
- Background Replacement: Use the Selection tools to replace a distracting background with a more suitable one.
- Background Blur: Apply a subtle blur to the background using the Gaussian Blur filter to isolate the model.
- Background Color: Sometimes, a simple纯色背景 can be the most effective, especially for editorial work.
10. Composition and Cropping
A strong composition is essential:
- Rule of Thirds: Use the rule of thirds to place key elements in your image for a balanced composition.
- Cropping: Crop your image to improve the composition or to focus on the model.
- Perspective Warp: Correct any perspective issues that may have occurred during the shoot.
11. Exporting for Different Uses
Different platforms require different file formats and sizes:
- Save for Web: Use this feature to optimize your images for web use, balancing quality and file size.
- Export As: Export your images in various formats, such as JPEG, PNG, or TIFF, depending on the intended use.
- Color Profiles: Ensure that your images are saved with the correct color profile for consistent color reproduction across different devices.
12. Continuous Learning and Practice
Photoshop is a vast program with new features and techniques being developed constantly:
- Tutorials and Workshops: Invest time in learning from tutorials and workshops to stay updated with the latest techniques.
- Practice: The more you practice, the more intuitive Photoshop becomes. Work on personal projects to hone your skills.
- Community: Join photography and Photoshop communities to share your work, get feedback, and learn from others.
Conclusion
Fashion photography is a blend of art and technology, and Photoshop is a powerful ally in this creative journey. By mastering the tools and techniques outlined in this guide, you can transform your fashion images into works of art that capture the essence of style and beauty. Remember, the key to success is patience, practice, and a continuous desire to learn and improve. With Photoshop at your fingertips, the possibilities are limitless.