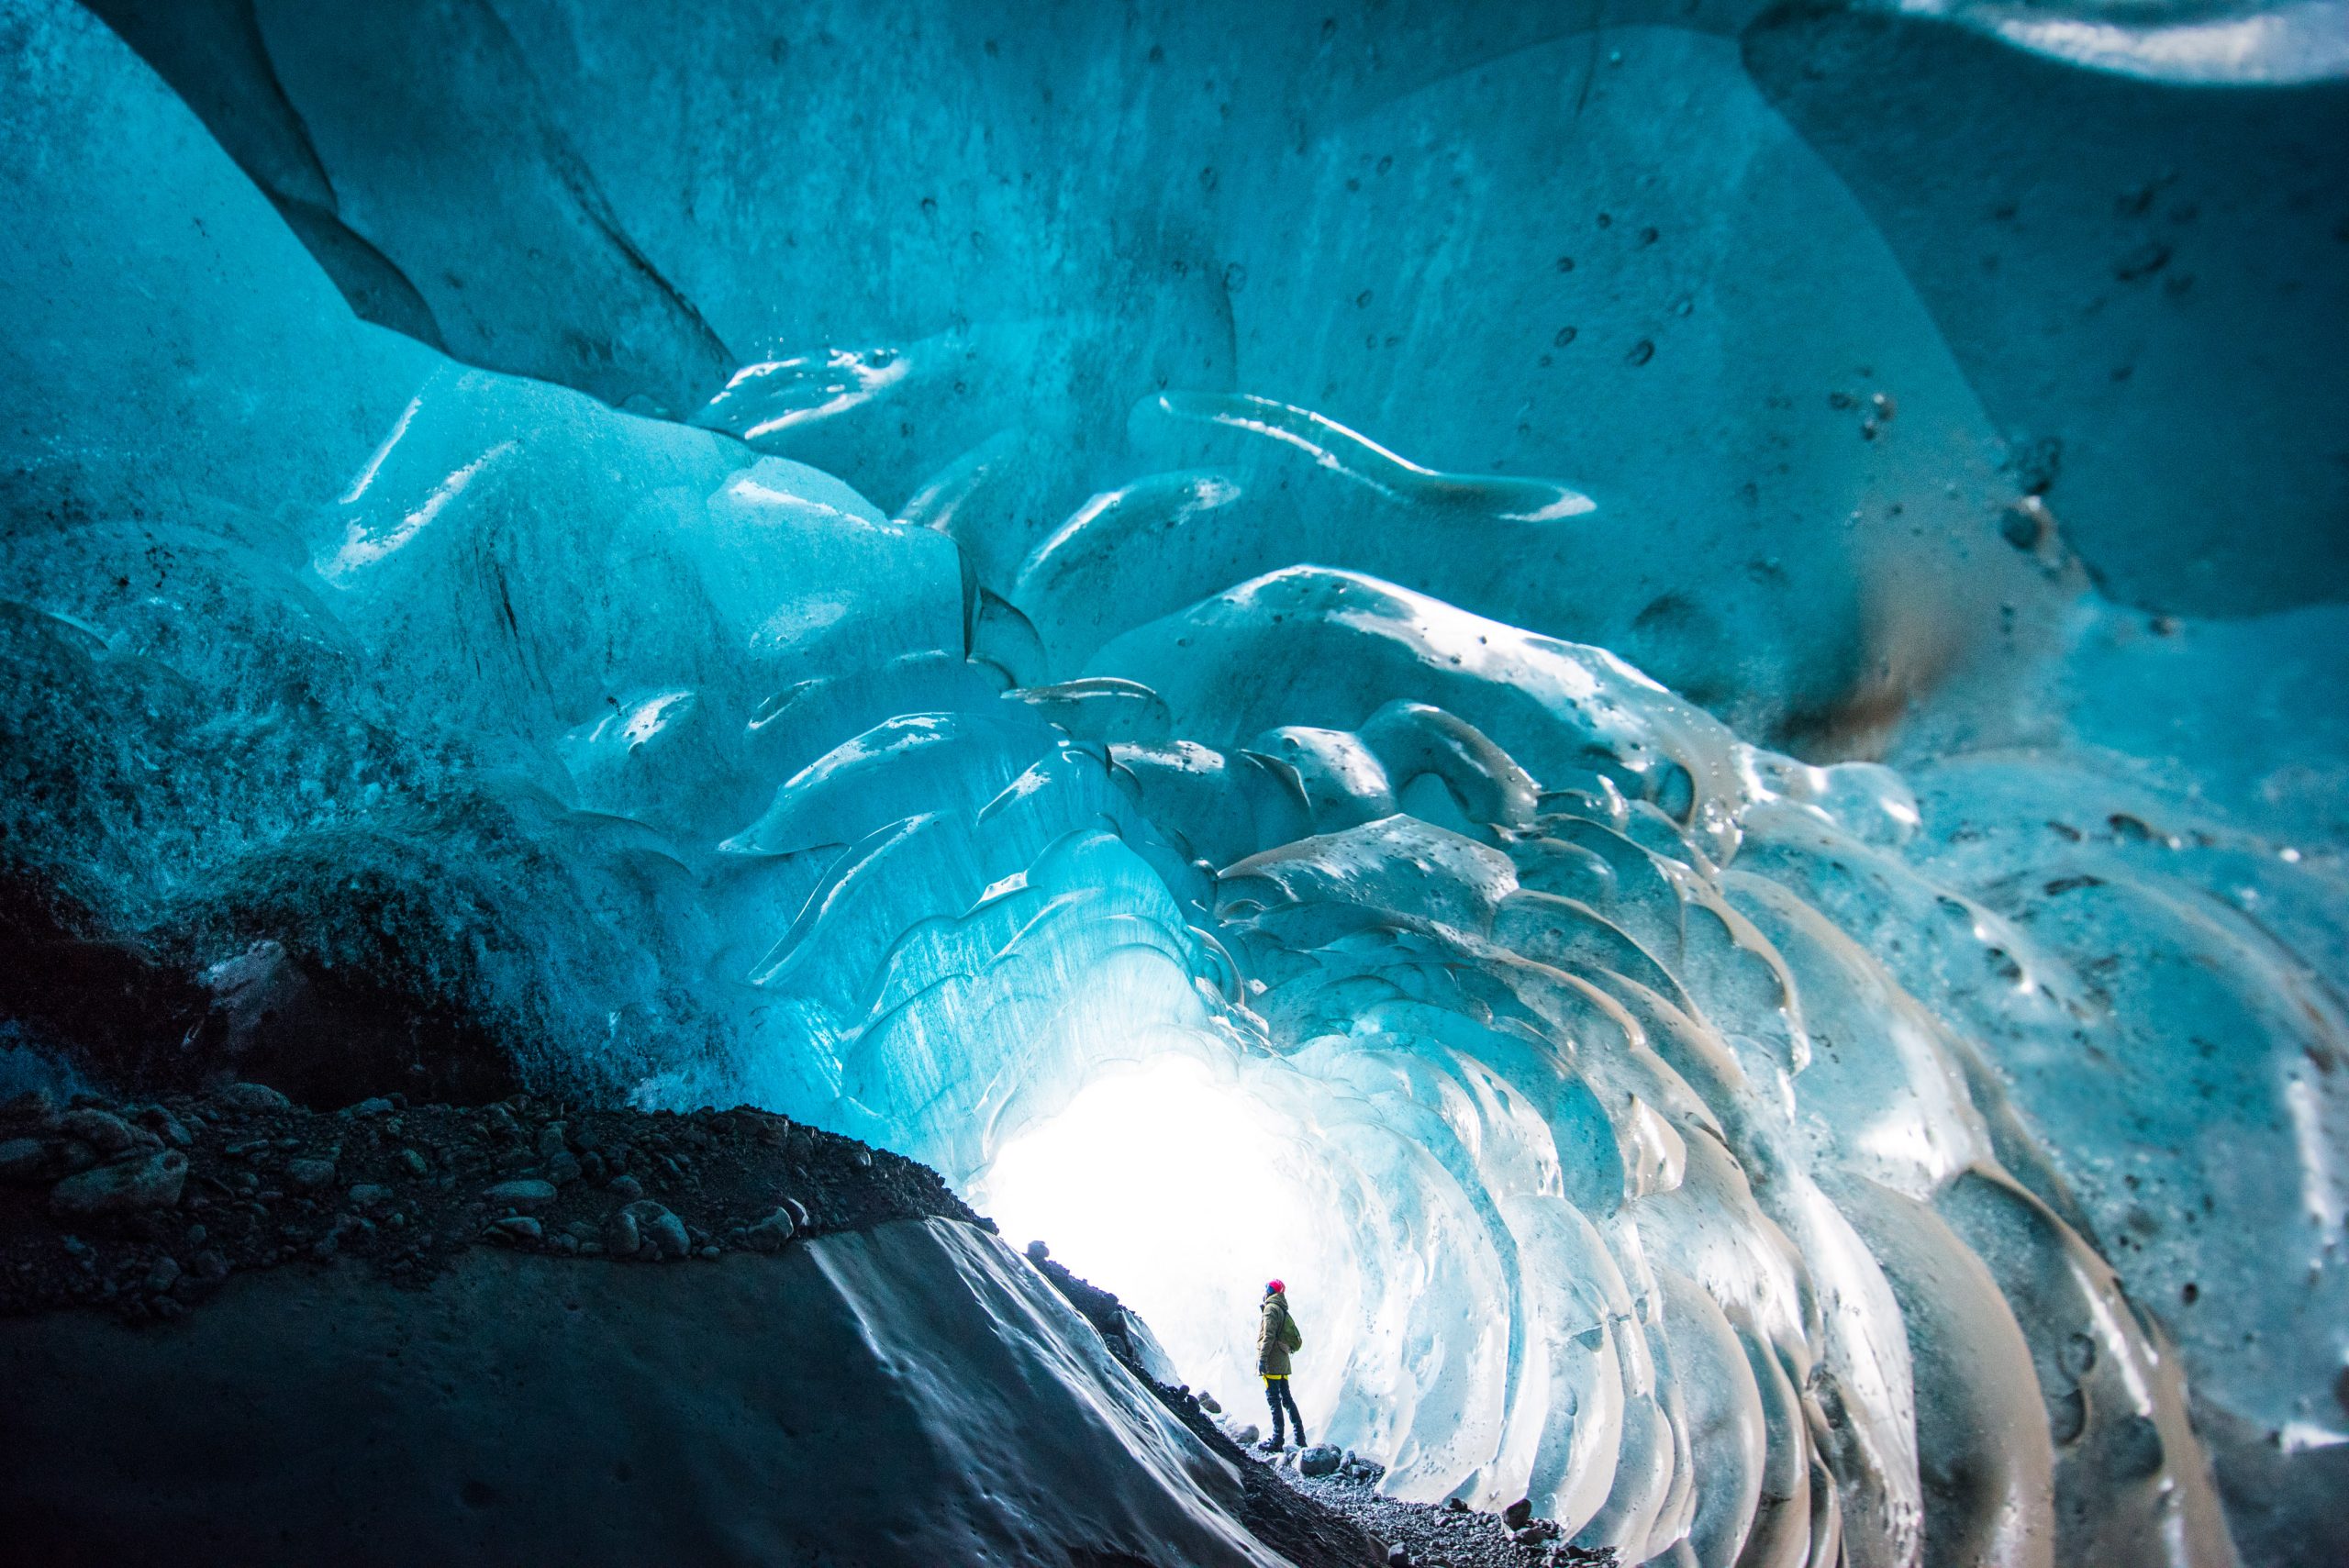
Capturing the essence of a mysterious cave is a thrilling challenge for photographers. consider leveraging Adobe Photoshop for post-processing. Here’s how:
- Enhance Lighting: Caves are naturally dark, making lighting a crucial element. Use Photoshop’s ‘Dodge’ tool to brighten areas without overexposing, bringing out hidden details.

- Color Grading: To evoke the mysterious atmosphere, adjust colors with the ‘Color Balance’ and ‘Hue/Saturation’ adjustments. Muted tones and cool colors can add depth and mystery.
- Texture and Depth: Add texture to your images with the ‘Texture’ overlay feature, which can simulate the roughness of cave walls. Use the ‘Depth of Field’ effect to focus on key elements, creating a sense of depth.
- Remove Noise: High ISO settings can lead to noise in cave photography. Photoshop’s ‘Reduce Noise’ filter can clean up your images without losing detail.
- Sharpen Details: The ‘Smart Sharpen’ tool can enhance the clarity of stalactites and stalagmites, making them stand out in the composition.
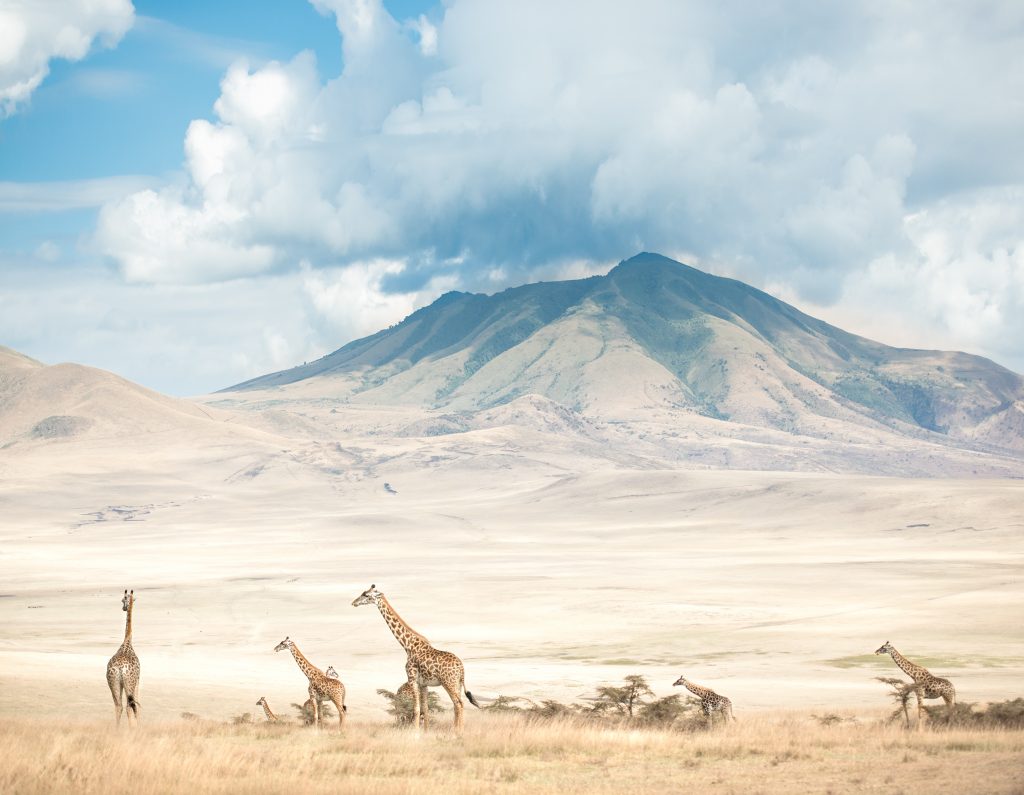
- Composition: Use the ‘Rule of Thirds’ to place key cave features for a balanced and engaging composition. Photoshop’s ‘Crop’ tool can help you achieve this.