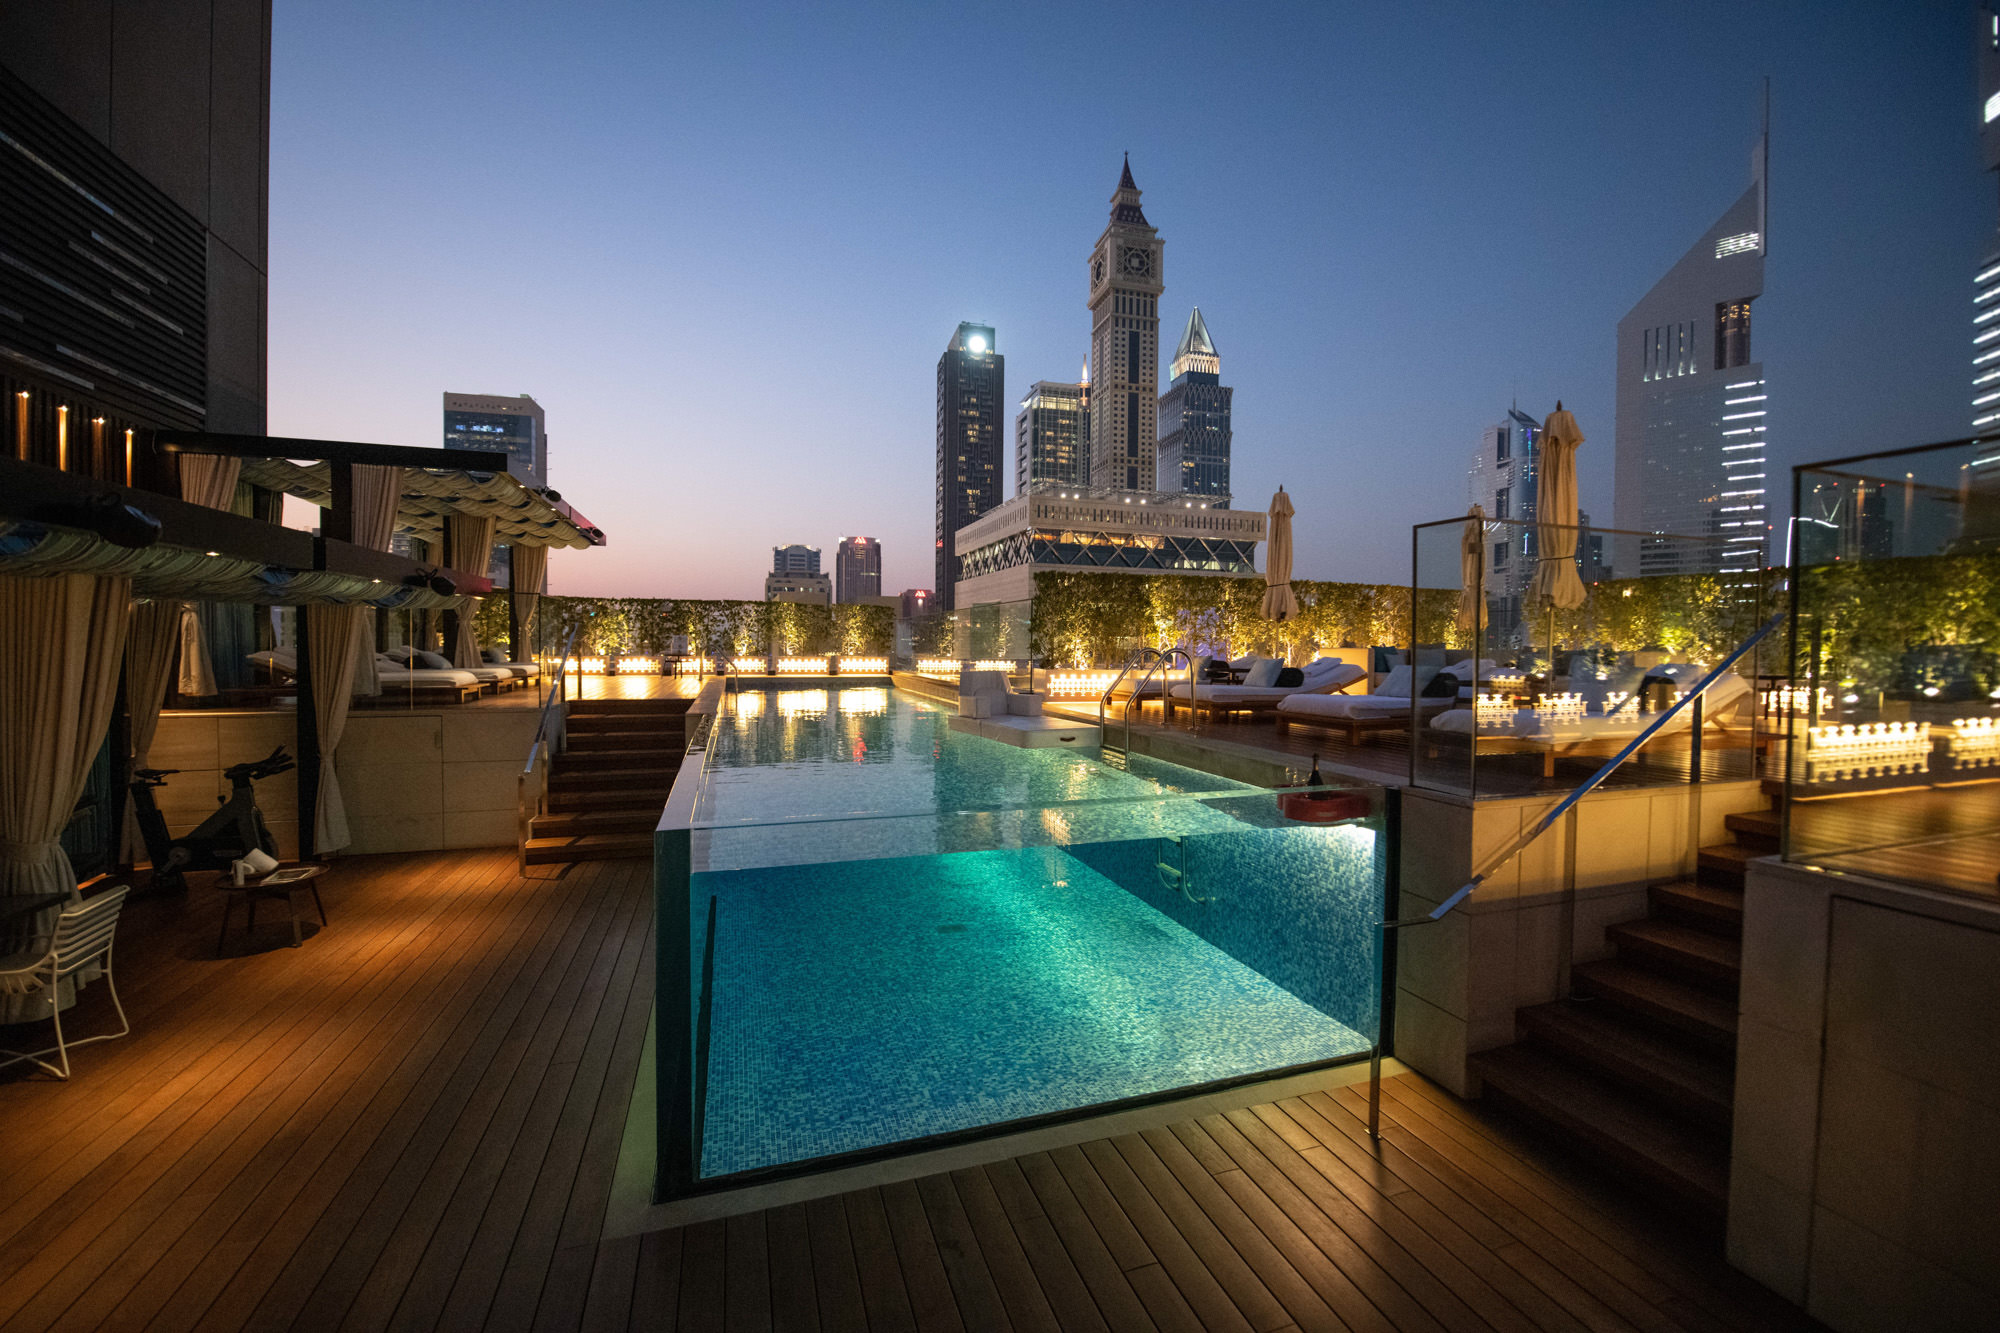
New York City’s skyline is a photographer’s dream, with its iconic buildings and vibrant energy. To capture and enhance this urban landscape, Photoshop can be your secret weapon. Here’s how to use it to boost your city views:
- Dynamic Range: NYC’s skyline can be challenging due to varying light conditions. Use Photoshop’s ‘Merge to HDR’ to blend multiple exposures into a single image, capturing the full range of light and shadow.
- Color Correction: The city’s colors can be overwhelming. Adjust the ‘Vibrance’ and ‘Saturation’ to make the colors pop without being too garish. This enhances the visual appeal and keeps the focus on the skyline.
- Sharpness: Ensure every detail from the Chrysler Building to the One World Trade Center is crisp. Use the ‘Unsharp Mask’ or ‘Smart Sharpen’ to fine-tune the clarity without introducing noise.
- Remove Distractors: The city is bustling, and unwanted elements can detract from your composition. Use the ‘Spot Healing Brush’ or ‘Clone Stamp’ to remove any unwanted objects or distractions.
- Sky Replacement: If the sky is overcast, replace it with a more dramatic one using the ‘Select and Mask’ tool to cut out the original sky and ‘Layer Mask’ to blend a new sky seamlessly.
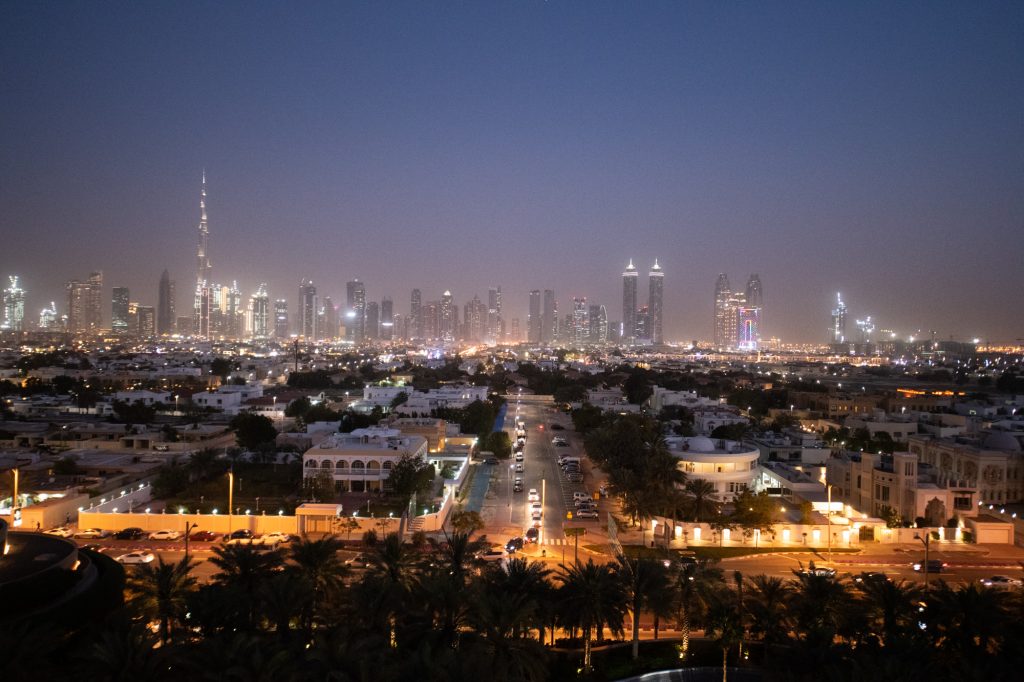
- Lighting Effects: Use ‘Dodge’ and ‘Burn’ tools to enhance the natural light or create artificial light effects, making the buildings stand out against the sky.
- Vignetting: Add a subtle vignette to draw the viewer’s eye to the center of the image, where the skyline is the star. This can be done with the ‘Vignette’ adjustment layer.
- Content Integration: Embed your images within a blog post that discusses the history, architecture, and significance of the NYC skyline.