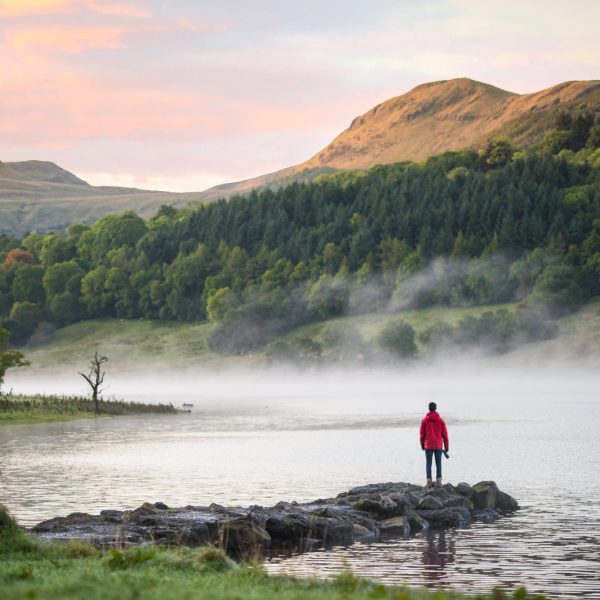
Enhance Lighting and Shadows: Use adjustment layers like ‘Levels’ and ‘Curves’ to enhance the contrast, making the peaks stand out. Play with shadows to add depth and drama to the scene. 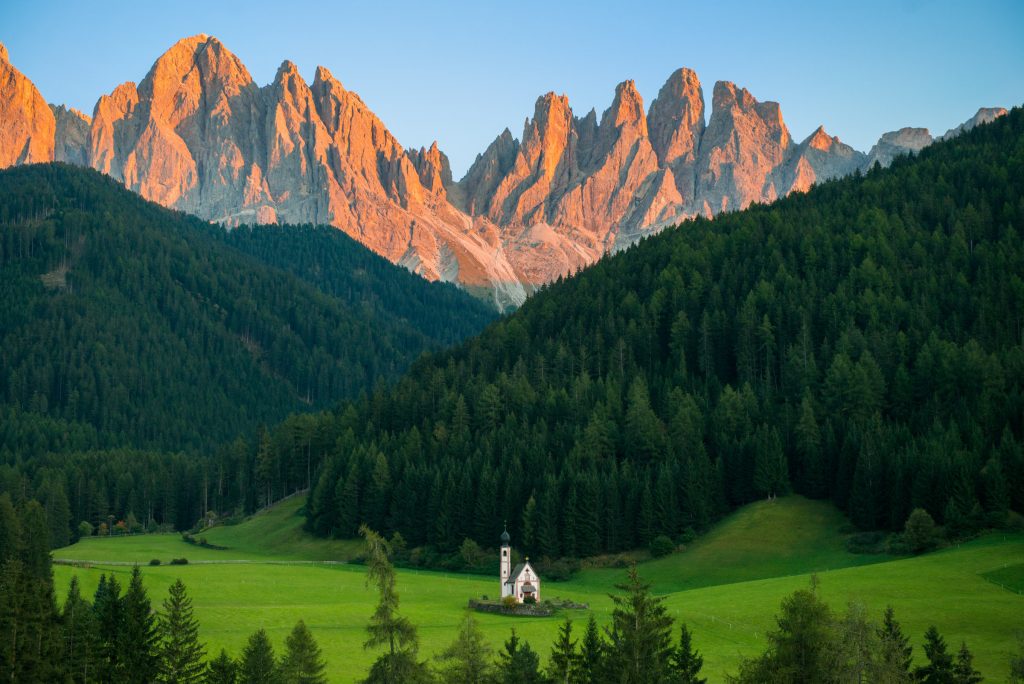
- Color Grading: Adjust the ‘Hue/Saturation’ and ‘Color Balance’ to accentuate the colors of the sky and the richness of the landscape. A cooler tone can make the snow-capped peaks pop, while warmer tones can enhance the sunset hues.
- Selective Sharpening: Sharpen the details of the mountain peaks and textures without overdoing it on the entire image. Use a layer mask to apply the sharpening effect only where needed.
- Remove Distracting Elements: Use the ‘Spot Healing Brush’ or ‘Clone Stamp’ to eliminate any unwanted elements, such as power lines or litter, that might detract from the majestic view.
- Dynamic Sky Replacement: If the sky in your shot is dull, replace it with a more dynamic one. Use layer masks to blend the new sky seamlessly with the mountain scene.

- Add Atmospheric Effects: Use filters like ‘Diffuse Glow’ or ‘Atmosphere’ to add a sense of mist or fog, enhancing the mood and mystery of the mountains.
- Vignette for Focus: Apply a subtle vignette to draw the viewer’s eye towards the center of the image, where the mountain peaks are, creating a more immersive experience.
- Optimize for Web: When exporting your images, use the ‘Save for Web’ option to ensure they are optimized for fast loading and high-quality display on all devices.
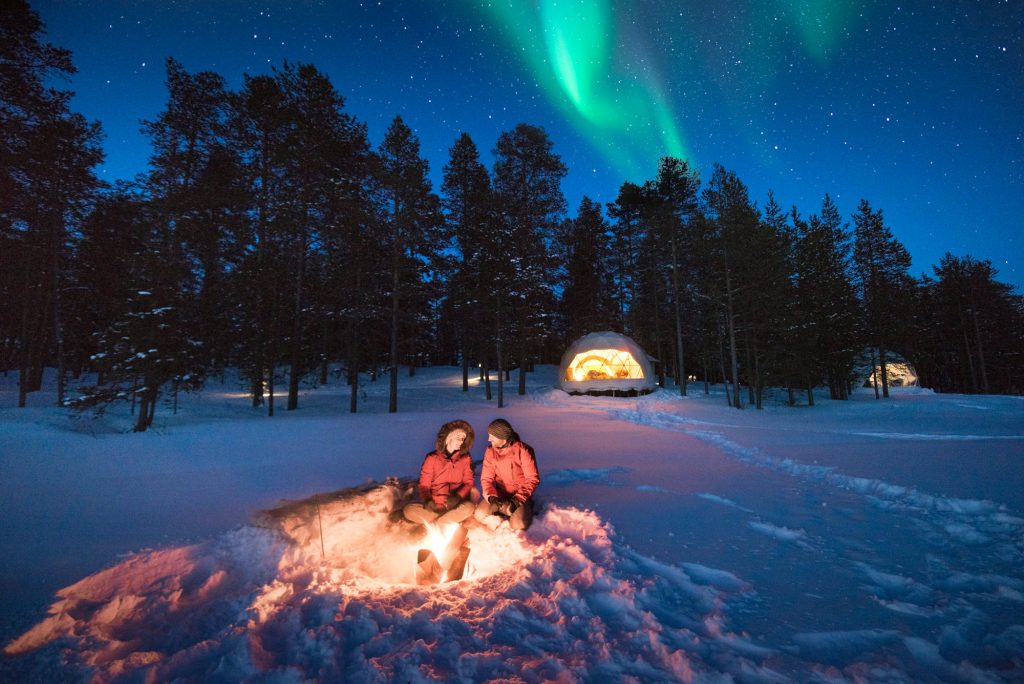
By leveraging these Photoshop techniques, you can transform your mountain photography into powerful visual narratives that not only add drama to your mountainscapes but also enhance your website’s search engine visibility. Remember, the goal is to enhance the natural beauty of the mountains, not to create a scene that looks artificially manipulated