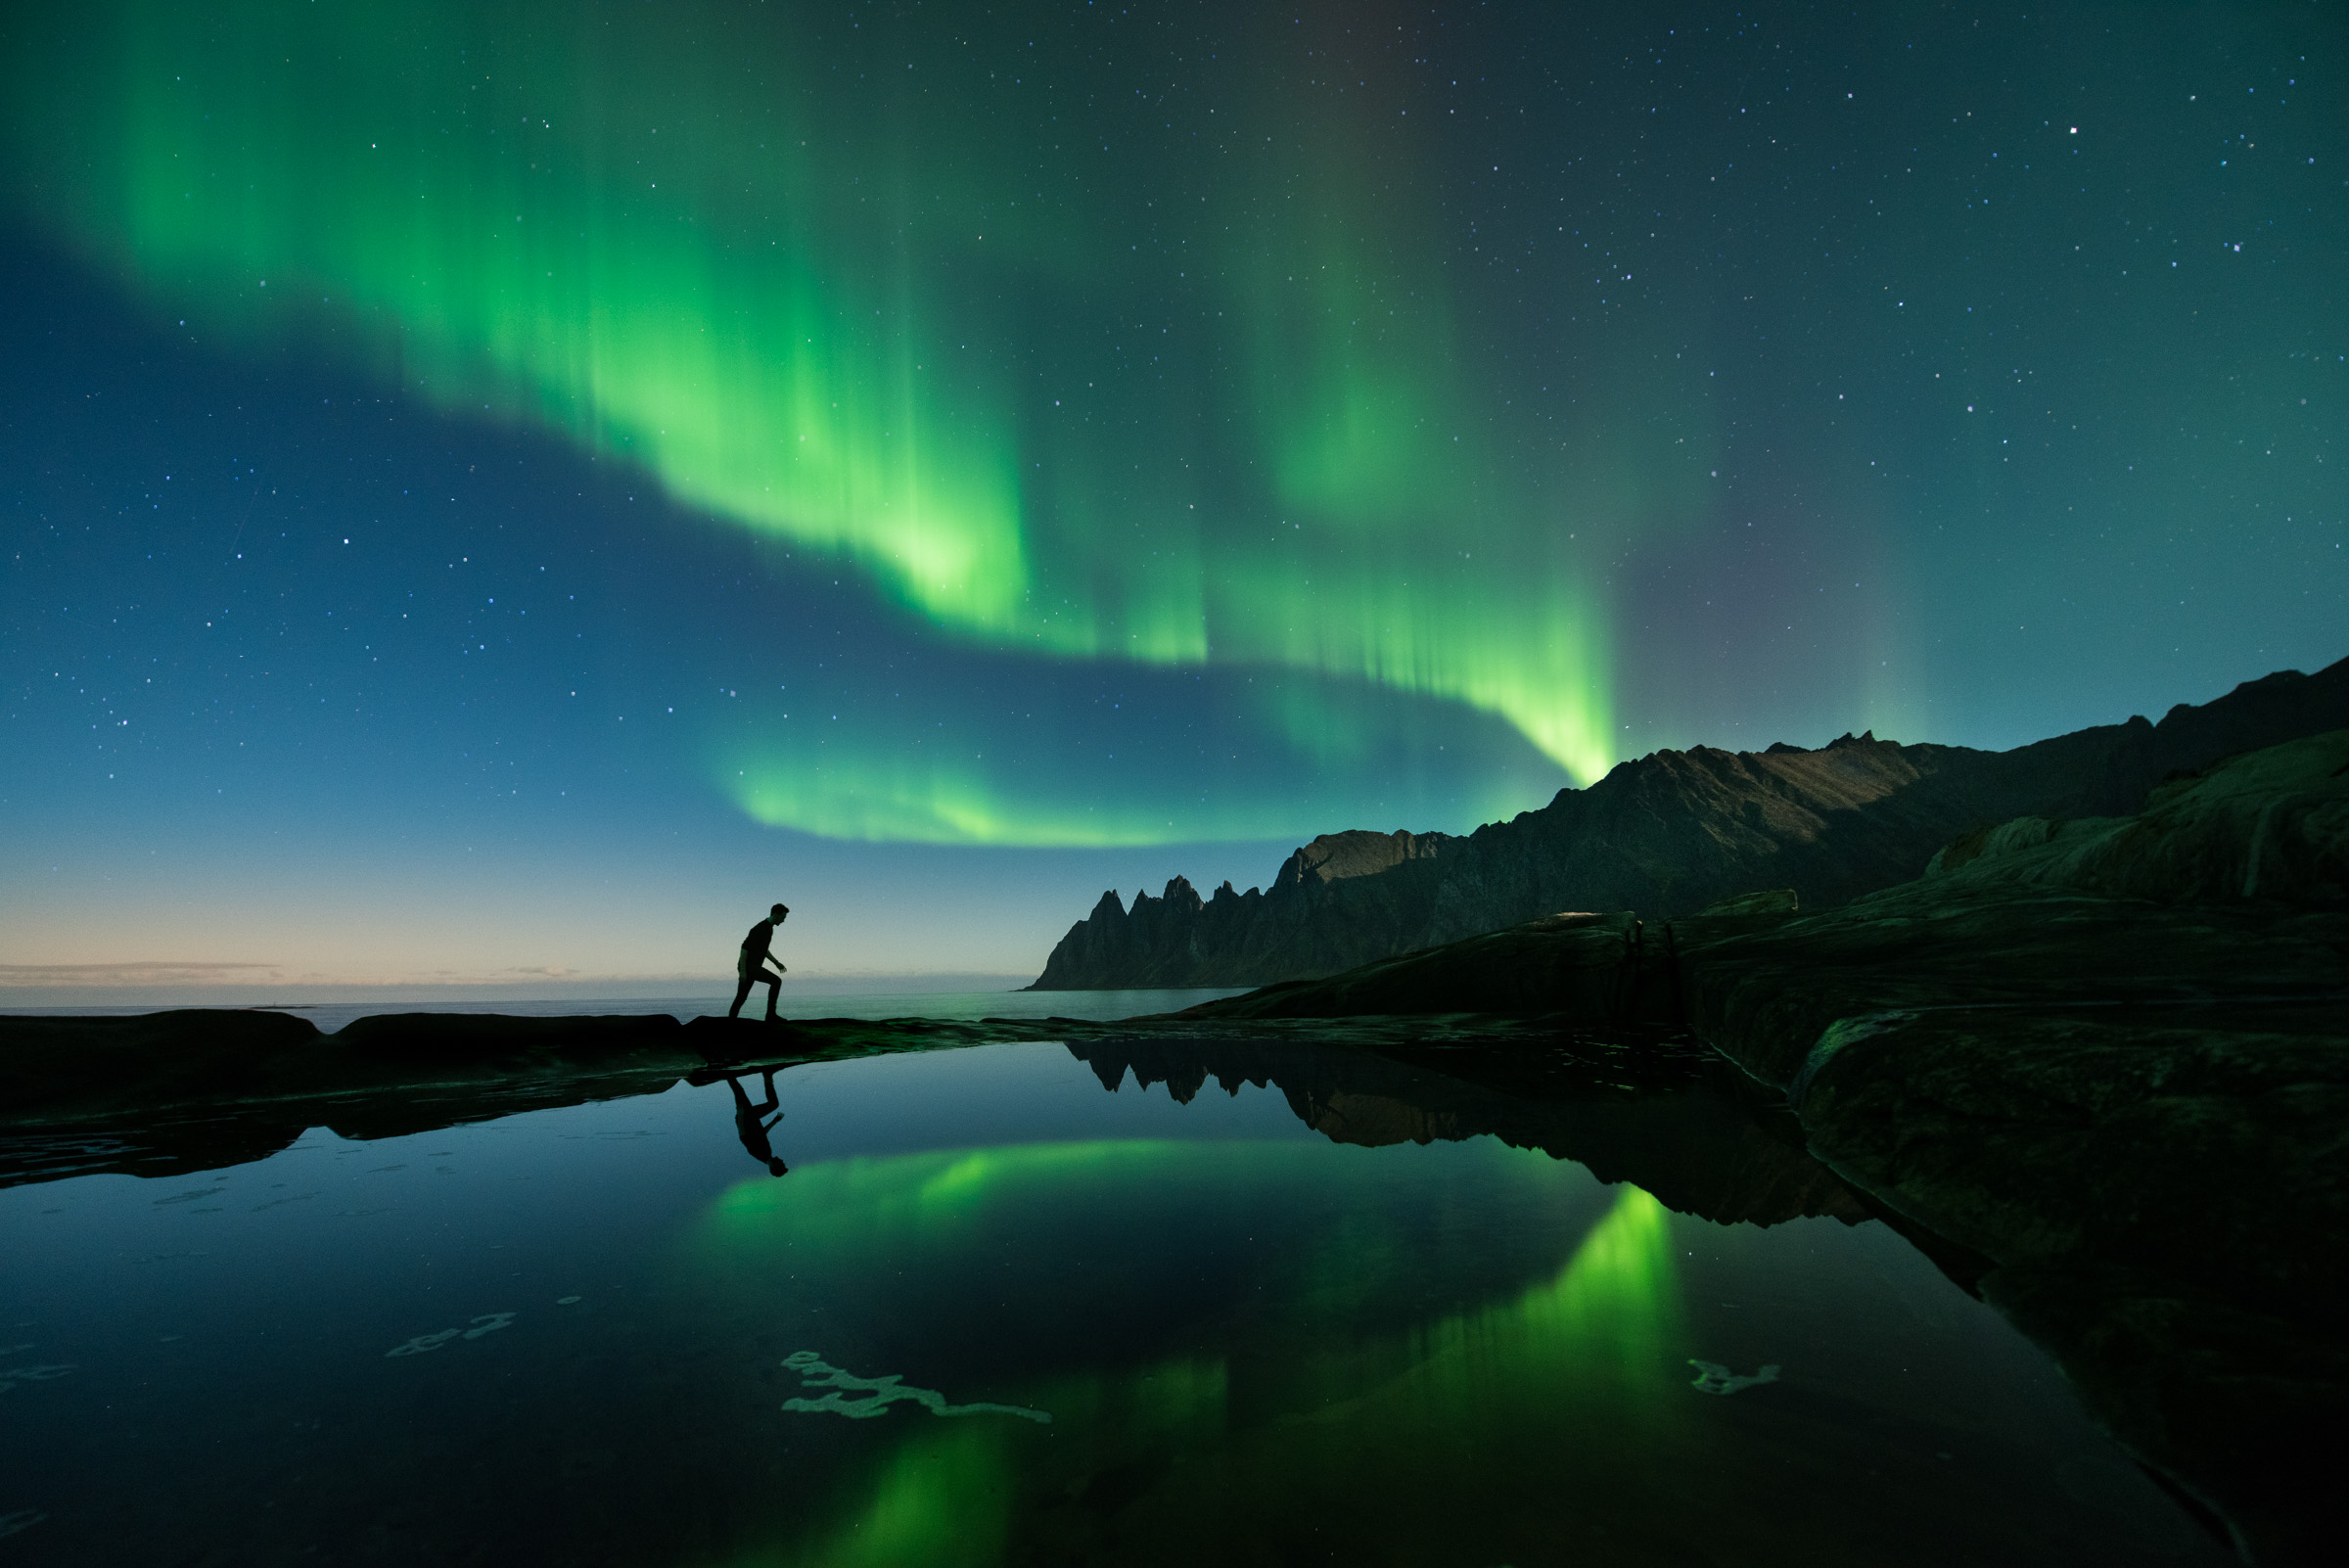
Capturing the essence of a tropical island is more than just pointing and shooting; it’s an art that comes alive in post-processing with Photoshop. Here’s how to master it for dreamy island scenes:
- Lighting Magic: Start with the ‘Levels’ or ‘Curves’ adjustment layers to enhance the dynamic range of your image, bringing out the vibrant blues of the ocean and the golden hues of the sand.

- Color Play: Use the ‘Hue/Saturation’ and ‘Color Balance’ tools to tweak the colors to your liking. Boost the saturation for a more vivid scene or adjust hues for a cooler, more serene look.
- Selective Enhancement: Employ layer masks to selectively apply adjustments, such as increasing the vibrance of the foliage or the clarity of the water, without affecting the entire image.
- Dodge and Burn: Use these tools to add depth and dimension by highlighting and shadowing specific areas, mimicking the natural interplay of light and shade on the island.

- Noise Reduction: Especially important for tropical photography, where high ISO settings can lead to noise. Use the ‘Reduce Noise’ filter to clean up your image without losing detail.
- Sharpening: Apply ‘Smart Sharpen’ to bring out the fine details of the landscape, but be careful not to overdo it, as this can introduce artifacts.
- Sky Replacement: If the sky in your shot is lackluster, replace it with a more dramatic one using layer blending modes and masks. This can transform a mundane shot into a tropical paradise.
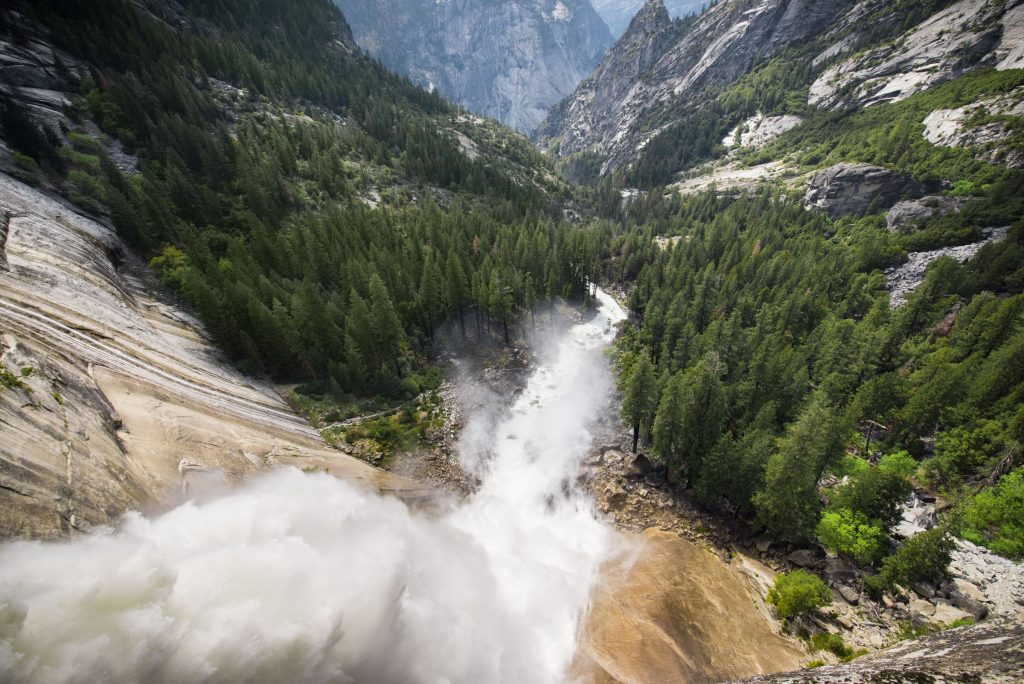
- Creative Composition: Consider techniques to add elements like a rainbow, a flock of birds, or even a palm tree for that perfect island vibe.
- Export for Web: When exporting, use the ‘Save for Web’ feature to optimize your image for the web, ensuring it loads quickly and looks great on all devices.