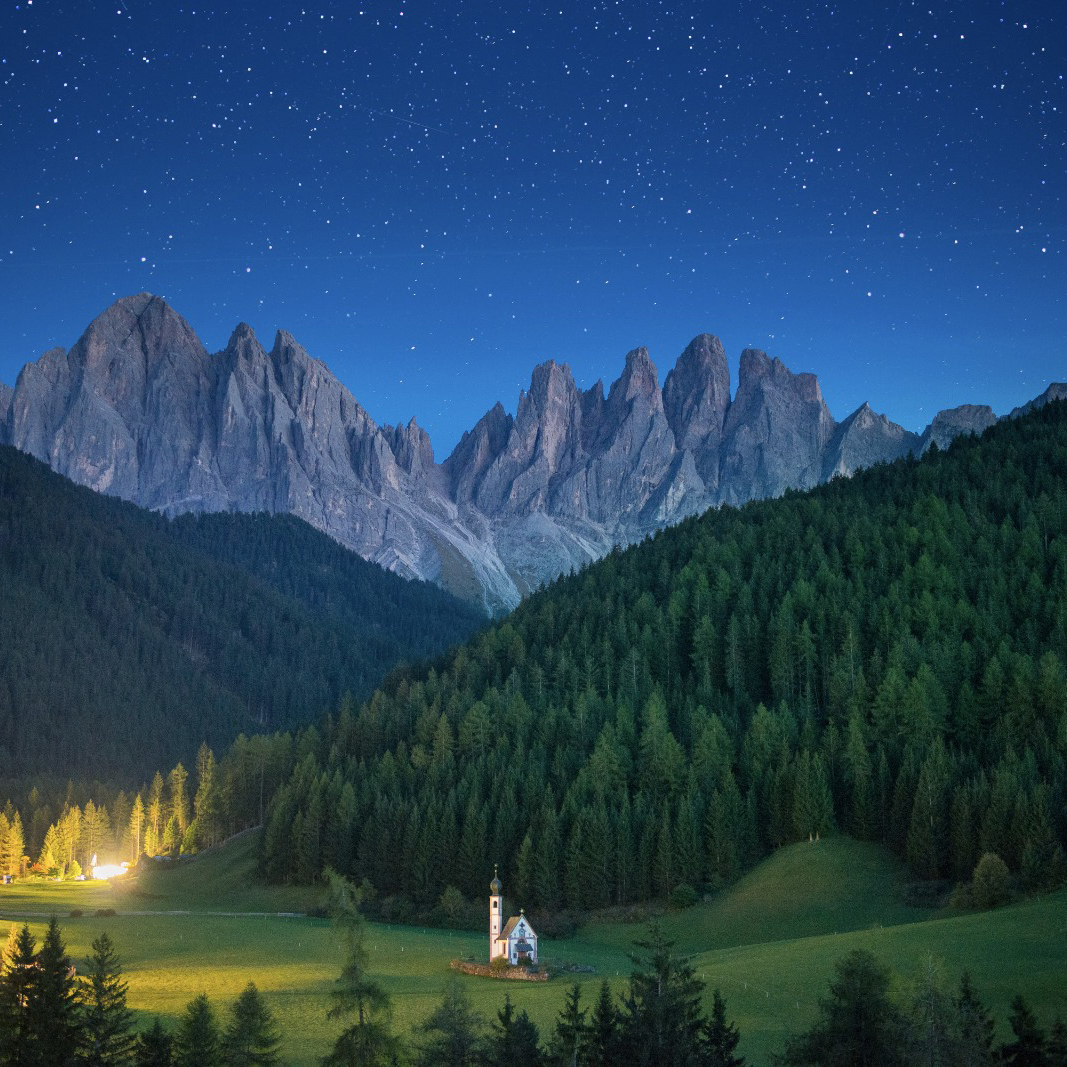
Creating magical night photos in Photoshop can transform ordinary images into enchanting scenes that captivate the viewer. Whether you are a professional photographer or an amateur enthusiast, this guide will walk you through the steps to enhance your night photography and add a touch of magic.
Step 1: Selecting the Right Image
The foundation of any great photo editing project is a high-quality image. Choose a night photo with good lighting, clear subjects, and interesting elements. A well-composed image will make the editing process smoother and the final result more impressive. Consider photos with natural light sources like street lamps, moonlight, or city lights to add depth and atmosphere.
Step 2: Importing the Image into Photoshop
Open Photoshop and import your selected image. You can do this by going to `File > Open` and selecting your image file. Once the image is open, create a duplicate layer to work on. This allows you to keep the original image intact for reference and adjustments.
Step 3: Adjusting Exposure and Contrast
Night photos often require adjustments to exposure and contrast to bring out details and enhance the overall mood. Go to `Image > Adjustments > Curves` to fine-tune the brightness and darkness levels. By adjusting the curve, you can brighten the shadows and darken the highlights, creating a more dynamic range. Experiment with different curves to find the perfect balance.
Step 4: Enhancing Colors
To make your night photo more magical, enhancing the colors can add a surreal and dreamy effect. Use the `Hue/Saturation` tool (`Image > Adjustments > Hue/Saturation`) to increase the saturation of specific colors. For example, increasing the saturation of blues and purples can give the image a mystical feel. Be careful not to overdo it, as too much saturation can look unnatural.
Step 5: Adding Light Effects
One of the most effective ways to create a magical atmosphere is by adding light effects. You can use the `Brush Tool` to paint soft, glowing lights around key elements in the photo. Set the brush opacity to a low percentage (around 10-20%) and use a soft, round brush. Paint over areas where you want to add a glow, such as around street lamps, windows, or reflective surfaces.
Step 6: Using Filters and Overlays
Photoshop offers a variety of filters and overlays that can enhance the magical feel of your night photo. Try using the `Lens Flare` filter (`Filter > Render > Lens Flare`) to add a subtle glow to light sources. You can also use texture overlays to add depth and interest. For example, a starry sky overlay can transform a simple night scene into a celestial wonderland.
Step 7: Fine-Tuning and Final Touches
Once you have made all the major adjustments, take a step back and review your image. Make any necessary fine-tuning to ensure that the elements blend seamlessly. Use the `Clone Stamp Tool` to remove any unwanted distractions or blemishes. Finally, save your edited image in a high-resolution format suitable for printing or sharing online.
Tips for Success
– **Experiment with Different Techniques:** Don’t be afraid to try new tools and techniques. Photoshop offers a wide range of features, and experimenting can lead to unexpected and beautiful results.
– **Reference Other Work:** Look at other magical night photos for inspiration. Analyze what makes them stand out and try to incorporate similar elements into your own work.
– **Practice Regularly:** Like any skill, photo editing improves with practice. The more you work with Photoshop, the better you will become at creating magical night photos.
By following these steps and tips, you can transform your night photos into magical works of art that will leave viewers in awe. Happy editing!
How to Create Magical Night Photos in Photoshop